

AccessoryCamera app for iPhone and iPad
Developer: MIYUKI Co.,Ltd.
First release : 15 Nov 2013
App size: 8.19 Mb
Make your favorite accessories look more beautiful!
Accessory Camera, a camera app, allows you to retouch photos of your accessories and share them with your friends.
Feature 1: Adjust white balance to make it look perfect
Accessory Camera enables you to adjust white balance on your photos and make them brighter, even the ones taken under fluorescent light.
Feature 2: Add your own style
Choose a filter from Cute, Hard, and Vivid, to personalize your photos.
Feature 3: Post and share your photos on Aclier
You can easily post your photos on Aclier, a social media site, and share them with your friends.
How to use Accessory Camera
1.Log in to Aclier
Go to MENU in the lower right portion of the screen. Aclier will automatically log you in after your first visit. You can use Accessory Camera without logging in, but to post and share your photos, you must log in to Aclier before taking a picture.
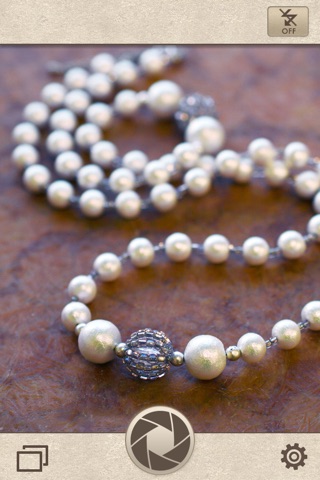
2.Take a picture
Take a picture of your favorite accessories with your smart phone. You can also pick your favorite photos from your smart phone’s camera roll.
If you are going to adjust white balance in the next step, place a white piece of paper in the corner of your camera screen before taking the photo. If there is a white object in the picture (like white wall), you do not need to place the white paper.
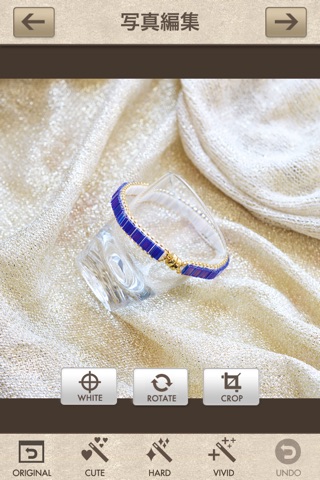
3.Adjust white balance
Touch the WHITE button on the screen. A target mark will appear. Tap where you placed the white paper in the image. Make sure the target mark points to the white area. Touch the CHECK button on the bottom of the screen. White balance adjustment is done.
4.Choose a filter
Accessory Camera has three filters to choose from: Cute (soft touch), Hard (sharp silhouette), and Vivid (bright and colorful). Tap the filter icon on the bottom of the screen to use filters. You can apply multiple filters to an image such as two Vivid filters and one Hard filter.
To erase the last change, tap the UNDO button. To go back to the original photo, tap the ORIGINAL button.
5.Trim away
To improve framing, you can crop an image. Tap the CROP button. You will see the area to be cropped out in gray. Adjust the area with your fingers by sliding. With this tool, you can also crop out the white paper you used to adjust white balance.
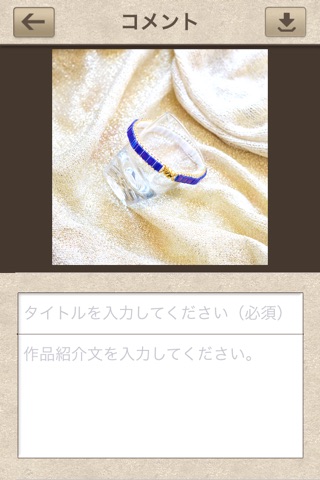
6.Add a title and write comments
Tap the arrow button on the upper right corner of the screen. You will be redirected to a page where you can write a title and add comments on your photo.
7.Save your image and post on Aclier
Tap on the button on the upper right corner of the screen, then choose POST ON ACLIER or SAVE THE IMAGE. If you tap the POST icon, your photo will be posted to “my box” on Aclier. If you tap the SAVE icon, your photo will be saved on the Accessory Camera.
Note: To post your photo on Aclier, you must log in before taking the picture.